

These directions assume you are running in a BASH shell. If you are running a C-shell (csh, tcsh), start a BASH shell:
$ /bin/bash
Download and install conda, if you do not have it. If you already have Anaconda or Miniconda installed, skip to step 2.
Iris uses conda for packaging and distribution. If you do not have Anaconda or Miniconda (a minimal version of Anaconda), download either for your platform. These directions assume you are downloading Miniconda. If you wish to download and install Anaconda, replace all “miniconda” references with “anaconda”.
Miniconda download links:
Install Miniconda to the directory of your choice. Installing Miniconda in batch mode assumes the user agrees with the end user license agreement.
For example, if you want it installed in your home directory, use export $MINICONDA_DIR=$HOME/miniconda.
$ export $MINICONDA_DIR=$HOME/miniconda         # <-- or wherever you'd like

$ bash Miniconda-latest-Linux-x86_64.sh -b -p $MINICONDA_DIR
$ export PATH=$PATH:$MINICONDA_DIR/bin
Add export PATH=$PATH:<path-to>/miniconda/bin to your $HOME/.bashrc or $HOME/.bash_profile so that you can run Anaconda commands from your terminal at any time. Otherwise, you will need to run “export PATH=$PATH:<path-to->/miniconda/bin” each time before you run Iris. For example:
   $ emacs ~/.bashrc

   export $MINICONDA_DIR=${HOME}/miniconda      # <-- or wherever miniconda is installed
   export PATH=$PATH:$MINICONDA_DIR/bin
Add the CXC and Sherpa conda repositories to your Anaconda configuration:
$ conda config --add channels https://conda.anaconda.org/cxc
$ conda config --add channels https://conda.anaconda.org/sherpa
Create a conda environment named “iris” with Iris installed in it.
$ conda create -n iris iris=3.0
Say yes (enter “y”) when the download script asks you to “Proceed” in installing the packages.
...
The following packages will be downloaded:
...

Proceed ([y]/n)? y

Fetching packages ...
....
Activate the Iris environment
$ source activate iris
Run the Iris smoke tests to confirm that Iris was installed successfully:
$ iris smoketest
The terminal output will provide a record of the test and indicate a successful termination or failed attempt. For more details on the Iris smoke test, see the Iris Smoke Test page.
With a successful smoke test run, you’re ready to use Iris.
Iris must be run from the conda environment created during installation. It is launched with the command iris.
$ source activate iris    # if you're not already in the iris environment
$ iris
IMPORTANT: If you have set “iris” as an alias in your $HOME/.bashrc or $HOME/.bash_profile to run an older version of Iris, please rename the old alias to something else (for example, “iris2.0.1” for Iris v2.0.1). Else, you may launch an older version of Iris.
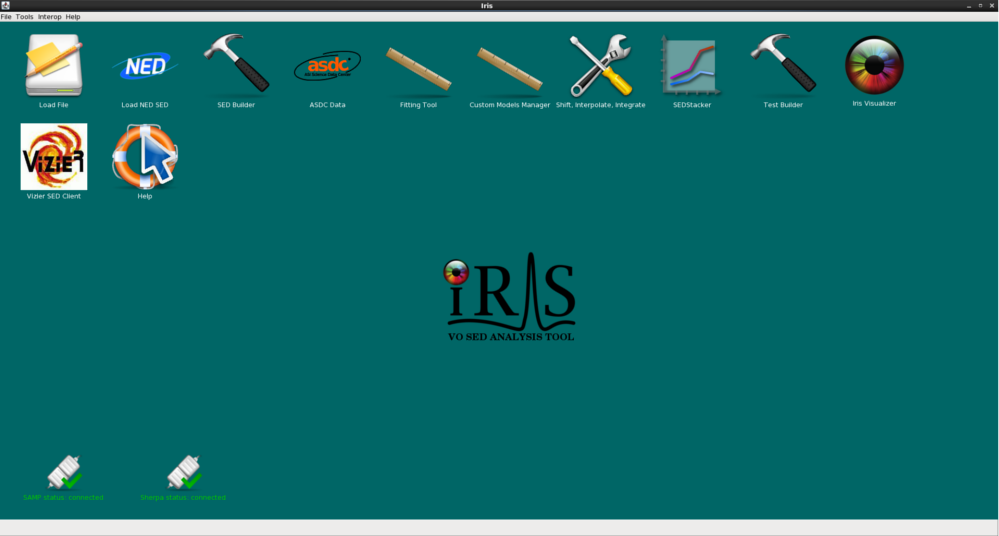
Above: The Iris Desktop
When you are finished using Iris, you may deactivate the iris environment with
$ source deactivate
| [Back to Table of Contents] |
If you already have Iris installed in a conda environment (Iris v2.1 or higher), you may simply run conda update iris in your Iris environment.
$ source activate iris
$ conda update iris
This will update your Iris installation to the latest version available.
| [Back to Table of Contents] |